
A single cracked slate is rarely a disaster, but it will let water in. On an older roof with no underlay beneath the slates, that water goes straight into the loft and onto the ceiling below. The encouraging part is that replacing one slate is one of the most contained jobs in roofing. No stripping, no dumping a skip on the drive, and no need to disturb the tiles around it if you take your time. The catch is access and patience. Get those two right and a single-slate swap is a tidy hour's work.
Start by Working Out What Has Actually Failed
Before you climb anything, stand back and look at the roof properly. Cracked and slipped slates fail in a handful of recognisable ways:
- A hairline crack across the slate, often caused by frost or a careless foot.
- A slipped slate sitting lower than its neighbours, with its top edge exposed.
- A broken corner, usually the bottom one.
- Delamination — thin flakes lifting off the face — common in older, softer slates.
- Nail sickness, where the fixings have rusted away and the slate has slid down the batten.
If the slate has merely slipped rather than broken, there may be nothing wrong with it. Sometimes it needs nothing more than pushing back up and re-hooking, which is the cheapest repair in roofing. If the crack is small and the slate is still lying flat and well fixed, a bead of roofing silicone worked into the crack from above will buy you time. Treat it as a stopgap, not a repair — but on a dry, still day it will hold through a shower.
Also count. If five or six slates around it are loose, cracked or flaking, the problem is not the tile. It is the roof.
Safe Access: Where Most DIY Jobs Go Wrong
Slate is brittle, the surface is steep, and it breaks when you stand on it. That single fact drives every decision about how you get up there.
- Work from a ladder or roof ladder, never directly from the slates.
- A roof ladder with wheels and a ridge hook is the standard tool for a one-slate repair.
- For anything above the second or third course, use a tower or scaffold instead of stretching from a ladder.
- Use a fall-arrest harness and a proper anchor point if there is any genuine fall risk. If there is no anchor, that is a sign you should not be up there.
- Spread your weight with crawl boards if you genuinely must get onto the roof surface.
- Pick your day: dry, still and above freezing. Wet slate is treacherous, and frost makes brittle slates snap.
- Keep the ground below clear, and never work alone on a roof.
- Treat any overhead cable as live, and keep ladders well clear of power lines.
UK work-at-height rules are strict for good reason. If the roof is steep, mossy, three storeys up, or you simply do not have the kit, this is the point to stop. A single slate is a small job for a roofer with a roof ladder and a much bigger one for you without one.
The Tools That Make It Possible
- A slate ripper — a long flat steel bar with a hooked end. This is the one tool you cannot improvise. Without it you will crack the slates above.
- A slater's hammer or a tinsmith's hammer with a cross-peen head.
- Tin snips or a small angle grinder with a diamond blade for cutting the replacement to size.
- A claw hammer for stubborn nails.
- Copper or stainless-steel fixings, plus a slate hook or a strip of copper for a tingle.
- A flat board or slate stake to cut on, and a wire brush for cleaning out the gap.
- Gloves, eye protection and non-slip boots.
Removing the Broken Slate
- Lift the tails of the slates covering the broken one very slightly, just enough to confirm the damaged slate will slide out. Use gentle, slow leverage only.
- Slide the ripper up underneath the broken slate until the hooked end catches a nail head. You will feel a distinct click through the steel.
- Pull down and out with a firm, straight motion. Copper nails usually bend and release. Older iron nails often snap and leave the shank in the batten, which is fine.
- Work along both nail positions — usually two, near the top of the slate. Some slates are centre-nailed.
- Once the fixings are free, slide the broken slate down and out from under the overlap of the course above.
- Brush out the gap and check the batten and any underlay. If the batten is soft or crumbly, stop — you have found a bigger problem than a cracked tile.
The temptation is to lever the slates above further than they want to go. Resist it. If they will not give, you may need to remove one more slate above to get the clearance, which is a slower but far cheaper route than cracking two good slates.
Cutting and Fitting the Replacement
Match the slate properly: same size, same thickness, and natural slate for natural slate. A fibre cement tile will stand out badly on a Welsh slate roof, and it will weather differently too.
To cut, measure the width against the gap, mark it on both faces, score along the line and snap it over a straight edge. Slate breaks cleanly along a scored line. For awkward cuts use tin snips or an angle grinder with a diamond blade — outside, with eye protection and a dust mask. Wear gloves, because fresh slate edges are razor sharp.
Fixing with a hook or a tingle
Because the slates above hide the normal nail position, you cannot fix the new slate in the usual way. There are two reliable alternatives:
- Slate hook: screw a stainless hook into the batten below the slate's tail position, then slide the slate up so its tail sits neatly in the hook.
- Tingle: cut a strip of copper or lead roughly 100mm by 25mm, nail it to the batten so it lies over the slate tail, then fold it back over the bottom edge of the slate.
Either way, slide the new slate up flat and square under the two slates above. Align its bottom edge flush with its neighbours, check the headlap matches the rest of the course, then fix the tail and check the slate does not rattle when you tap it lightly.
When to Stop and Call a Roofer
Some jobs are worth handing over without any sense of defeat. Call someone if the slate is above easy ladder height, if the roof has no underlay, if battens are soft, if you cannot source a matching slate, or if you are working around a valley, dormer or chimney where the detailing gets involved. And if you have already cracked two good slates trying to free the broken one, stop immediately — the cost is climbing faster than the value of the repair.
A Small Repair Done Well
An hour with a slate ripper, a matching tile and a copper tingle will save you a much larger bill later, because a small leak rarely stays small. Once it is in, watch that patch through the next spell of heavy rain and check the loft afterwards for any damp patch on the felt or rafters. If it stays dry, you have done the job properly. If it does not, the water is almost certainly tracking in from somewhere higher up the roof rather than from the slate you just replaced.
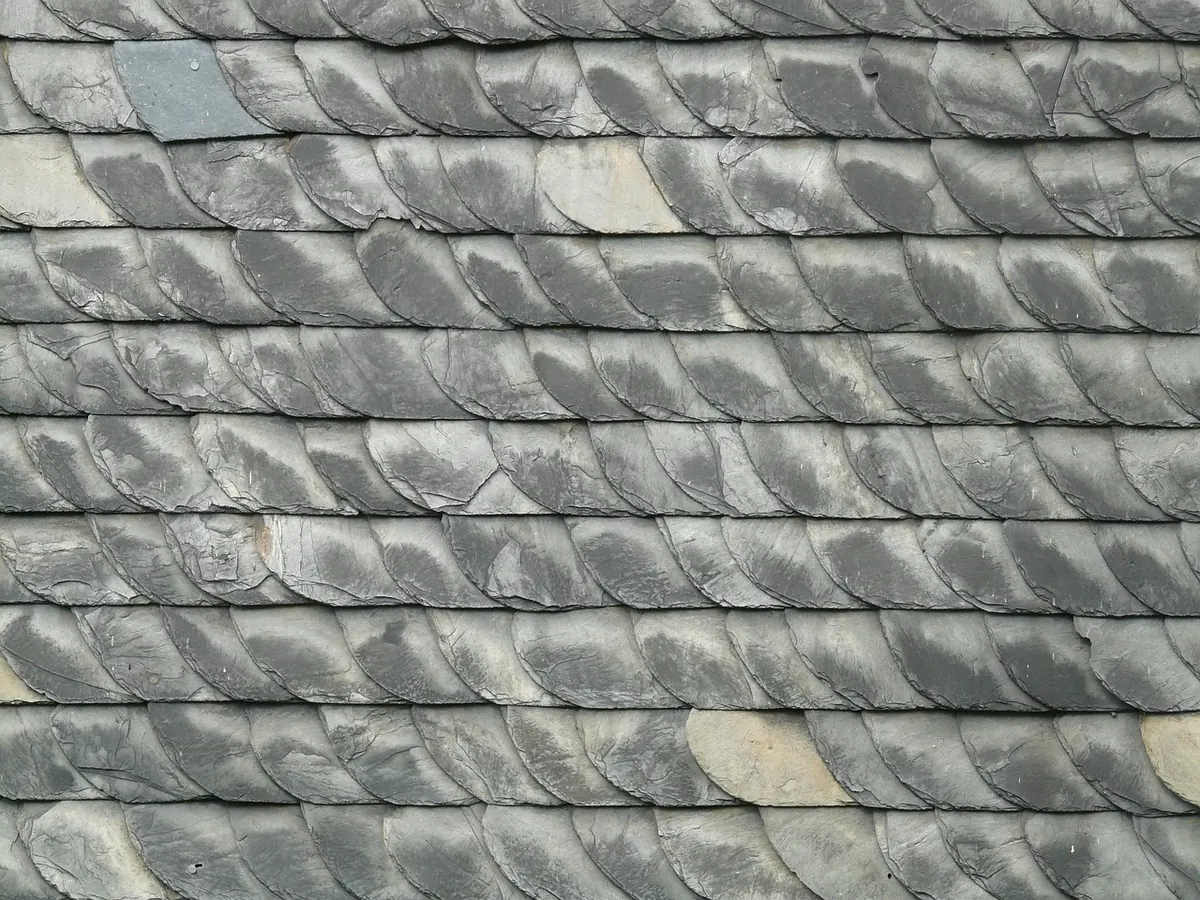
Photo: Hans / Pixabay